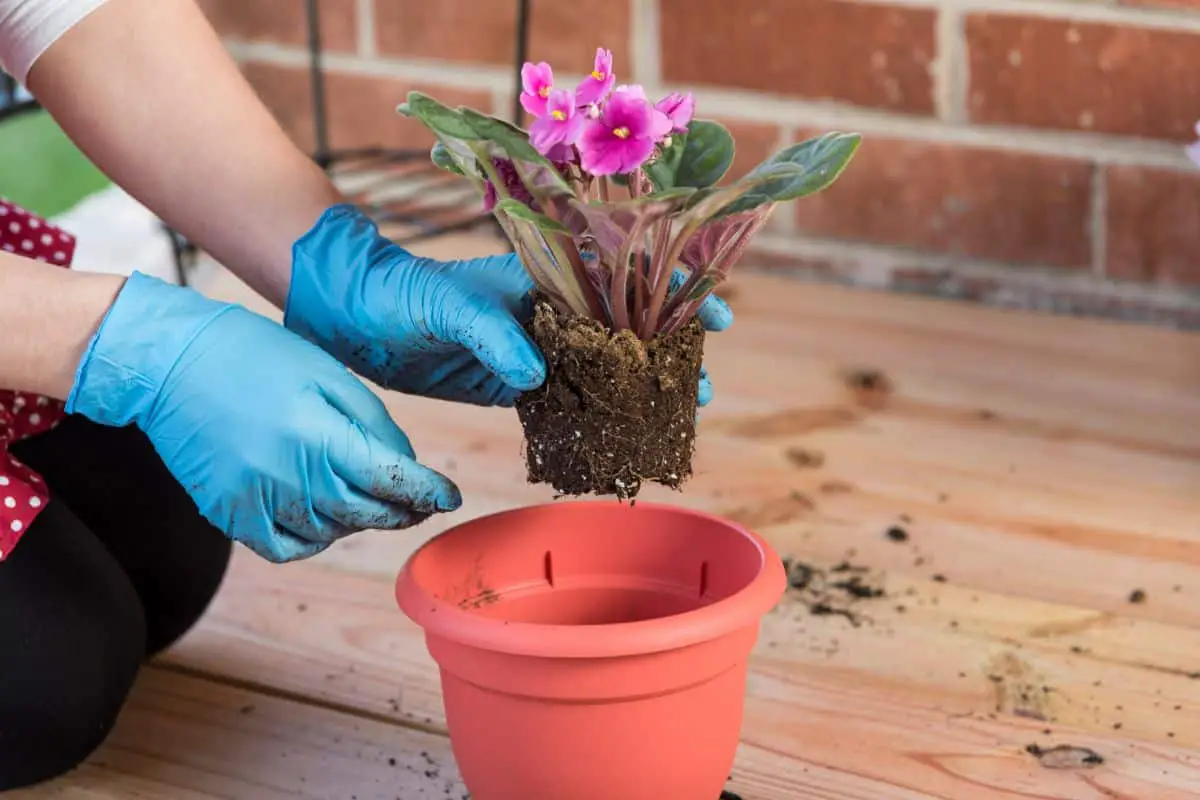
There’s no denying that African Violets are one of the most stunning flower species about. And when cared for correctly, they produce the most beautiful blooms in that delightful pretty pastel color.
However, considering these plants are pretty notoriously known for their odd little idiosyncrasies such as not liking too much water, or sunlight, or regular soil, the thought of having to repot the plant can leave gardeners quaking in their boots.
But I’m here to tell you that it’s nowhere near as scary as you might think it is. Yay! In fact, as long as you know what you’re doing, repotting African Violets can be easy and effortless.
And in this article, I’ll part my words of wisdom and share my repotting know-how so that you too can repot your plant like an absolute pro. So, what are you waiting for? Let’s get straight into it.
How Regularly Should You Repot Your Plant?
Unfortunately, there isn’t exactly a definitive answer to when you’ll need to repot your plant. Each and every plant will grow at its own pace and rate, so the time can fluctuate from plant to plant.
Generally speaking though, you’ll want to repot your plant at least twice a year. This is because repotting allows your plant to get a replenishment of depleted nutrients, encourages new growth, and also balances out the soil’s chemistry.
If your plant starts to develop a long leafless neck or starts to grow roots out of its drainage holes, it’s a pretty good indicator that it’s time to refresh their home. But how do you go about it? Let’s find out.
Step-By-Step Guide To Repotting African Violets
Be Prepared
Before you even touch your plant, you’ll want to make sure that you’ve got the necessary space and tools to seamlessly move your plant from its old home to its new one. So, you’ll want to make sure that you’ve got your new pot and the soil to hand.
If your flower is poking its roots out the bottom of your plant pot then you’ll want to opt for a larger pot whereas if your plant is currently struggling to bloom or alternatively is retaining more water than required, it’s best practice to place it in a slightly smaller pot.
A good rule of thumb, if you’re a little stuck, is that these plants thrive best when in pots that are about a third of the spread of their leaves.
Finally, one thing to keep in mind during this stage is that there isn’t a better time for pests and diseases to transfer to a new host than right while you’re repotting the plant.
So be sure to disinfect any tools, pots, or surfaces that you use. Also, remember to wash your hands during the process.
Extract Your Plant From Its Pot

Now that you’re prepared, you can begin the extraction process. For plants in porous pots, it’s always a good idea to give them a little drink first.
Just keep in mind, though, that this can cause the plant to swell which might make them weaker or more susceptible to injury. So, if it is not in a porous pot then you should not water it until the repotting process is complete.
When it comes to extracting the plant, you’ll want to hold it at the base and then get as firm a hold on the crown as possible.
Then you can tilt the pot to the side and tap it from underneath. It should pop out straight away, but if it doesn’t you can push it out through the drainage hole.
Clean The Roots
The next step is to ensure that the root ball is clean. You can do this by brushing off any dirt or debris with your hand, a soft toothbrush, or a small rake.
If you observe any black, brown, mushy, or otherwise unappealing sections, you should cut them off immediately and then treat the root with rot treatment to prevent the decay from spreading any further.
Give It A Trim
Once you’ve cared for the root, it is time to give your plant a little trim. Prune away any leaves that appear overly dry or damaged as this will encourage the production of more energy for the reroot.
Repot Your Plant
When your plant is finally ready for its new home, you can start the repotting process. You’ll want to start doing this by placing a thin layer of soil inside the pot and then gently placing the root ball above it.
Next, you’ll want to carefully cover up the base of the plant and the leaves and pat it down to stabilize it. Keep in mind that the soil still needs to be fairly loose, so don’t use a heavy hand to do so.
Finally, you’ll want to place the plant on top of a plate or saucer of water so that the plant can drink as much water as is required.
Aftercare (Optional)
Now, this final step isn’t required, but it is definitely recommended. Place your flower into a clear plastic bag for approximately 7 days after the date of repotting. Doing so will boost humidity and encourage plant growth.
If you do opt to follow this step, just be sure not to damage or squish your plant’s leaves when doing so.
Writing the date of repotting on the plant tag can also be a handy trick to follow as you’ll then be aware of the last date that you repotted your plant. Let’s face it, it’s oh-so-easy to forget.
Final Thoughts
Repotting your African Violet may feel like an overwhelming and challenging task, but it really doesn’t have to be.
As long as you follow the steps provided in this article, you shouldn’t encounter any issues while transporting your favorite plant to its new home. So, what are you waiting for? You’re now ready to repot your African Violet like a pro.
