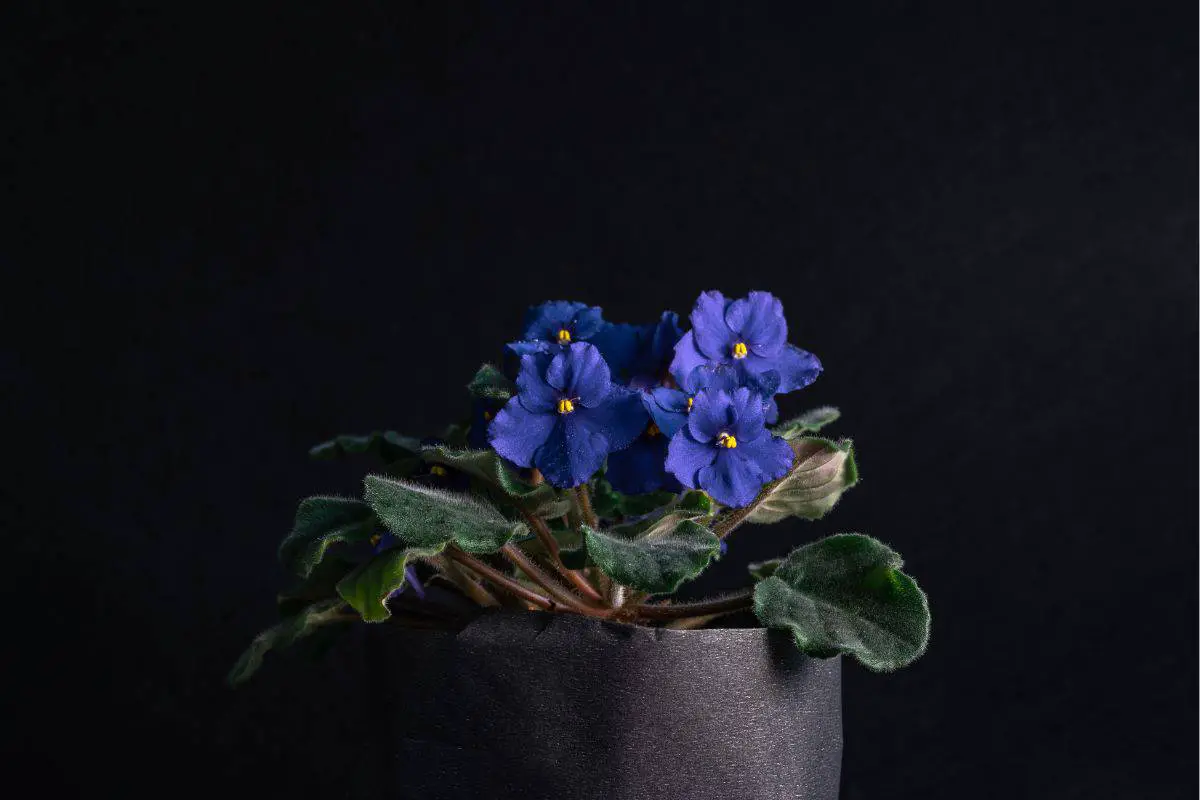
Have you ever felt the magic of watching a plant grow from just a few leaves? Propagating African Violets is an exciting way to get up close and personal with nature.
Whether you’re a novice or experienced gardener, this guide will show you how to start your own African Violet plants from cuttings. With just a few simple steps, you’ll be able to enjoy the joy of propagating these vibrant and beautiful blooms!
Soil Propagation
Step 1
Soil propagation is the most common way to propagate African Violets. To get started, you’ll need a shallow dish of soil and a clear container with a lid. This will help the soil stay moist and humid for your cutting.
Step 2
Place your cutting into the soil, making sure that at least one leaf is above the surface. Make sure not to bury it too deep as this can stunt its growth. Water it occasionally and keep an eye on it as some cuttings may take a few weeks to start sprouting roots.
Step 3
Once your new plant has established itself, you can carefully transplant it into a larger pot or planter. With just a bit of patience, you’ll soon have a beautiful new African Violet!
Water Propagation
Step 1
Water propagation is another great way to propagate African Violets. To get started, all you need is a glass of water and a few leaf cuttings from an existing plant. Trim the leaves off the stem so that each cutting has at least one leaf attached.
Step 2
Place the trimmed stem into the water and make sure its level. Place your propagation station in a warm and bright spot, such as near a window or under grow lights.
Step 3
Change out the water every week to keep it fresh and bacteria-free. In just a few weeks, you should start to see new roots growing from your cuttings! With some patience, you’ll have a brand new African Violet in no time!
Leaf Propagation
Taking a leaf cutting is an easy and effective way to propagate African violets. All you need is a healthy leaf and a few basic tools such as a pair of clean scissors or pruning shears.
Step 1 – Prepare Your Rooting Medium
Preparing your rooting medium is a critical step in propagating African violets from leaf cuttings. You’ll need to create a soil mix that’s light and airy, yet still retains some moisture.
To achieve this, I recommend combining two parts perlite with one part African violet potting mix. Once your ingredients are mixed together, it should look like a delicious crumbled cookie concoction!
Make sure to fill your container with enough of the soil mixture so that it covers the bottom and reaches the middle of the leaf cutting.
Step 2 – Add Water
Now that you have your rooting medium ready for the African violet cuttings, it’s time to add water! But don’t just pour on the water – you’ll want to be gentle and moderate here. You don’t want to drown the cuttings in too much water, or the leaves will rot.
Instead, just add enough water to make the soil lightly moist throughout. Use your finger or a spray bottle to lightly mist the soil until it is damp but not soggy. This should give your leaf cuttings just enough of a boost to start rooting in their new home.
And don’t forget – if you notice that the soil is starting to dry out over time, give it another light mist so that your African violets can keep growing strong!
Step 3 – Fill Your Pots
Now that you’ve added the water to your rooting medium, it’s time to start planting your African violet cuttings! Start by filling your two-inch pots with the soil mixture. Don’t worry if you don’t have a two-inch pot – any size pot will do.
Just make sure that you fill it up far enough so that when you put the cuttings in, they are firmly planted into the soil and won’t fall out. Once your pots are full of soil, use a pencil or any similarly-sized object to poke some holes through the surface.
This is where you’ll be placing the leaf stems of your African violets. Make sure that these holes are deep enough for your cuttings – about one inch deep should do the trick.
Finally, give each hole a light misting of water to help settle in the roots of each cutting before moving on to step 4!
Step 4 – Choose Leaves
It’s time to start selecting your African violet leaves for propagation! Look for healthy leaves that are free from any signs of disease or pests.
Choose mature leaves that are located in the middle of the plant – avoid those forming from the very center as they are still too young, and also avoid the largest outer leaves as these can be too old.
When you’ve selected your cuttings, remove them and their stems from the host plant with a sharp pair of scissors. Be sure to remove as much stem from around the crown of each leaf to avoid any rot setting in. Now it’s time to move on to step 5!
Step 5 – Prep Leaves
Once your leaves have been cut from the host plant, it’s time to prepare them for propagation. To do this, you’ll need to shorten the leaf stems to a length of about one inch using a knife, your fingernails, or sharp snips.
This will help encourage new roots to form and also make it easier for your leaf cutting to be planted into its new home.
Once you’ve shortened the stems, take a damp cloth and gently wipe down both sides of each leaf to remove any dirt or debris that may be present. Finally, carefully place each cutting into a shallow container with fresh potting soil.
Step 6 – Apply Rooting Hormone
Rooting hormone is an important part of the African Violet propagation process. It helps stimulate root growth in your cuttings and can give them a much-needed boost of energy to get started on their new lives.
To apply the rooting hormone, simply dip each stem into the powder and lightly coat about half of its length.
Make sure to wear gloves and eye protection when handling the powder, as it’s a mild irritant that can cause discomfort if ingested or it comes into contact with mucous membranes.
Step 7 – Potting Up The Cuttings
Once your cuttings have been dipped in rooting powder, it’s time to pot them up. Choose a good quality potting soil and fill your containers with it. Make sure to leave some room at the top so that you can water your plants without any spillage.
Plant each cutting into its own container, being sure to place the stems directly into the soil and not just on top of it. Firmly press down the soil around each stem to ensure that everything is snugly in place.
Water each plant thoroughly until all excess moisture is gone, ensuring that there are no pooling areas of water at the bottom of each pot. Now, all that’s left to do is wait for your new African Violets to take root and begin their lives as beautiful houseplants!
Step 8 – Add Support
Once your African Violets have been potted up, you may want to add some support in order to keep their delicate leaves from drooping over.
To do this, simply place a plastic plant tag (or whatever support you have chosen) next to your cutting and use it as a stand. This is especially important if the leaves are tall, as they need extra help standing upright.
You could also use plastic plant ties or twist-ties to secure the stems of your plants in place if needed. Whatever support option you choose, just make sure that it’s not too tight – remember, these are delicate little plants!
Conclusion
Propagating African Violets is a fun and rewarding way to expand your collection of houseplants. With just a few simple steps, you can easily create new plants from existing ones.